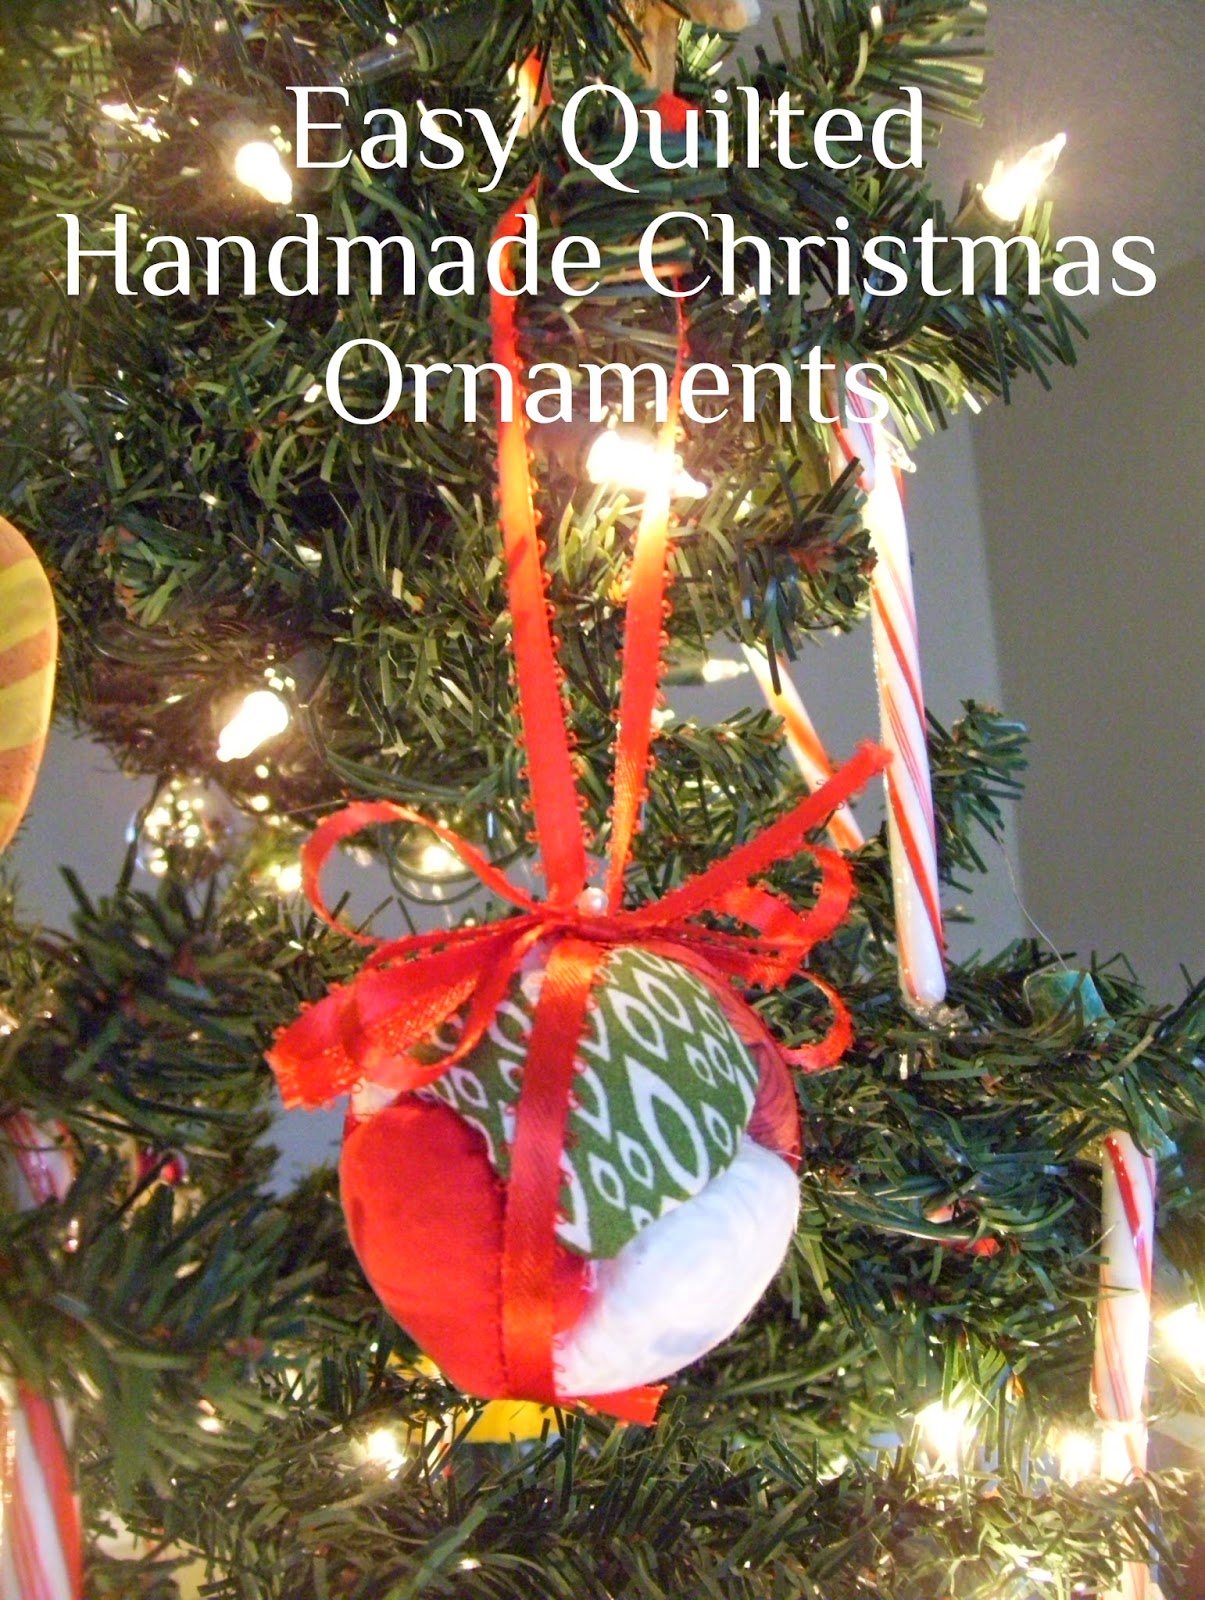
Making these beautiful quilted Christmas ornaments is easy and fun! Using simple supplies that can be purchased at your local craft store or found around the house, these ornaments are a keepsake that your family will treasure for years to come. Make extra and give them away as gifts!
Video Tutorial (Photo tutorial below)
 |
| You will need the following supplies - * Styrofoam Balls (we used the 2.5 inch size) * Various colors of fabric . You will want at least three contrasting colors. * Narrow ribbon for hanging * Quilting pins * Scissors * Butter knife |
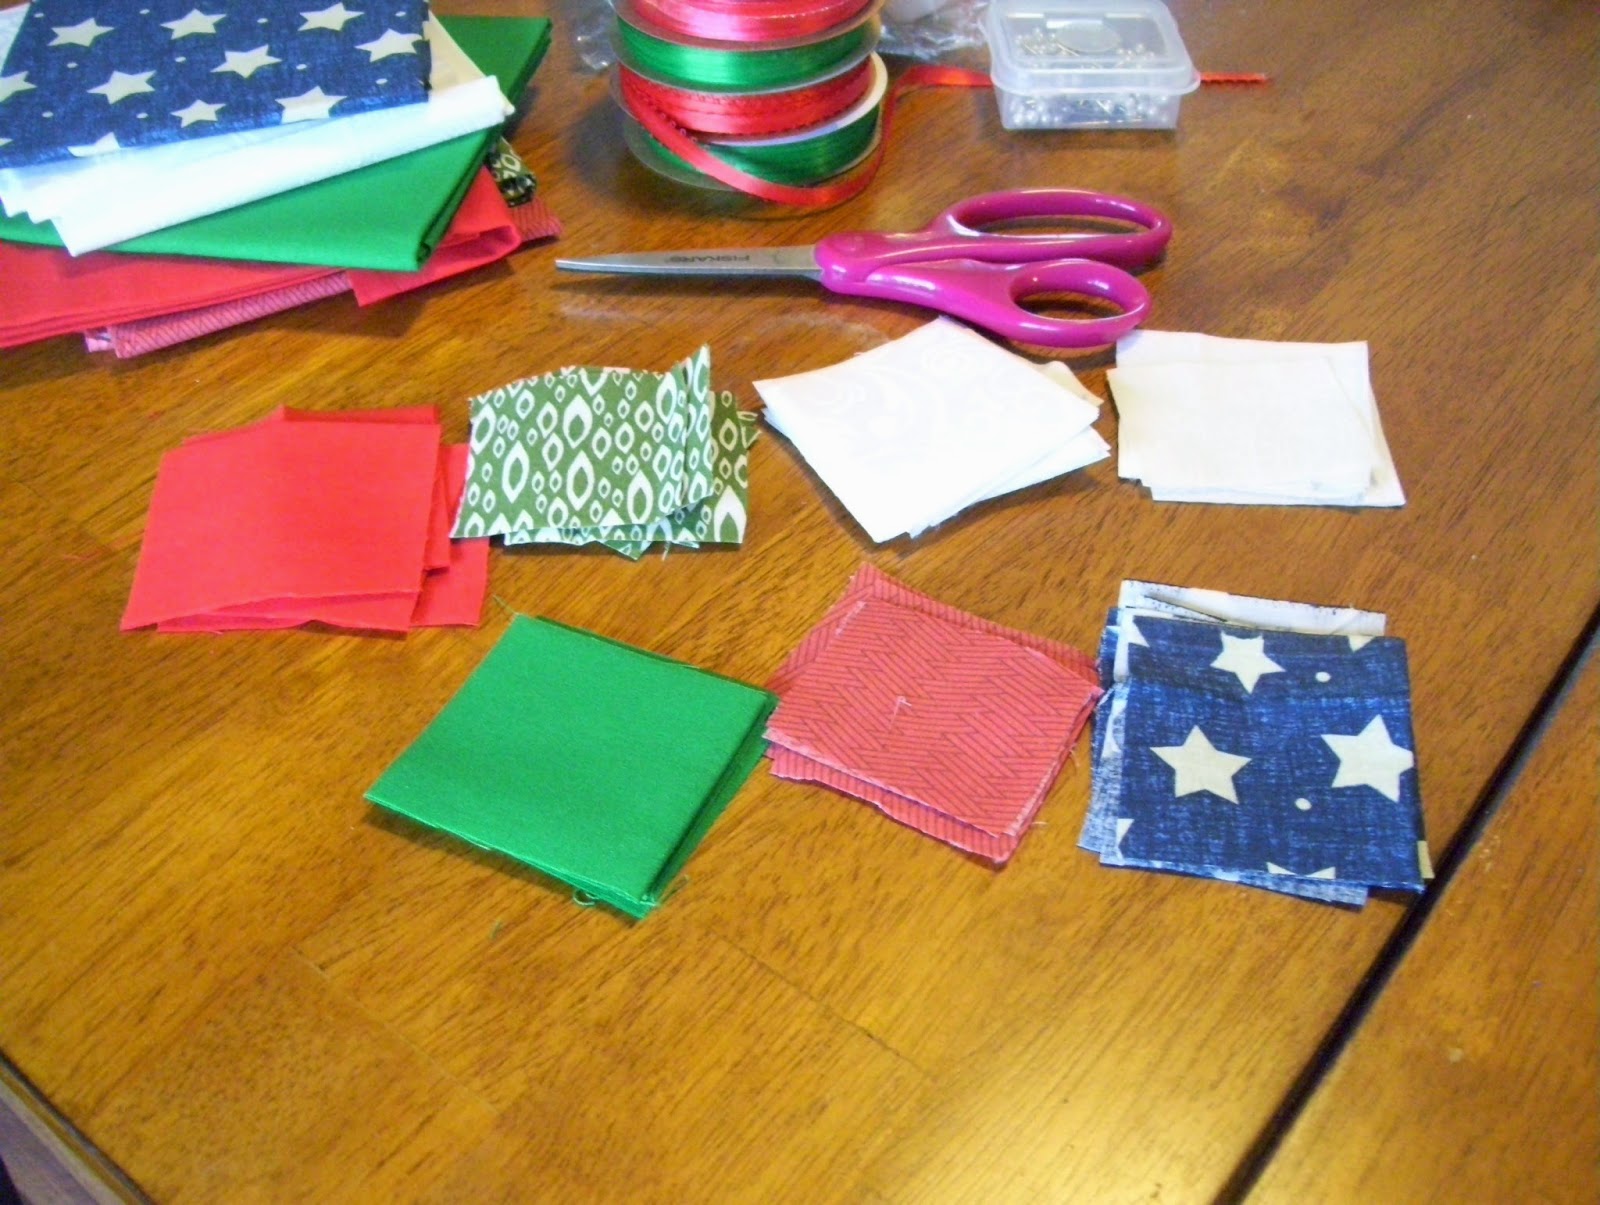 |
| 1) Cut fabric into squares. The size will depend on the size of the ball. For the 2.5 inch ball, we cut our fabric in approximately 1.5 inch squares. This is not a project that you will need to be accurate on. |
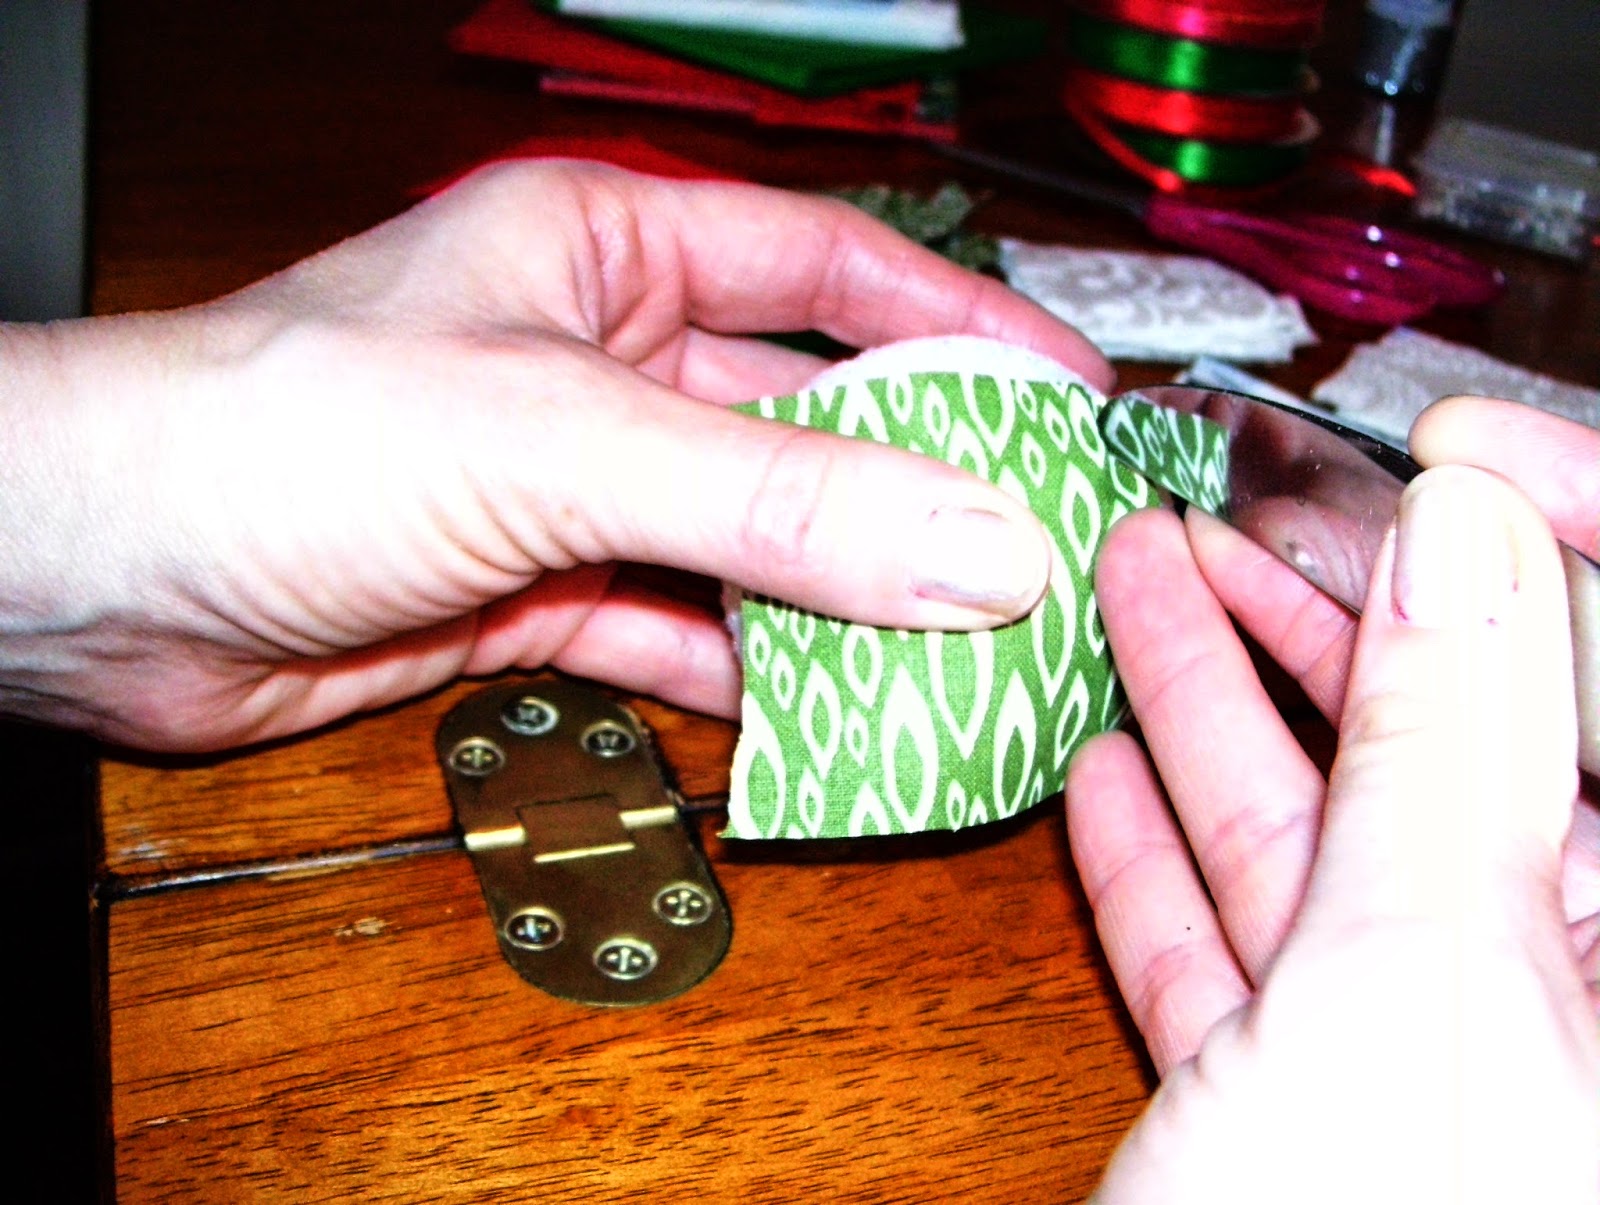 |
| 2) Begin poking the fabric into the Styrofoam with your butter knife. You will want to keep the knife perpendicular to the fabric to wedge it in neatly. Also to avoid making big holes into the Styrofoam, follow the line of the fabric closely, only poking in 1/8 inch or so. Too much fabric causes the Styrofoam to not hold the fabric in place. Too little fabric and it will pop back out. Practice a throw-away to get the feel of it. |
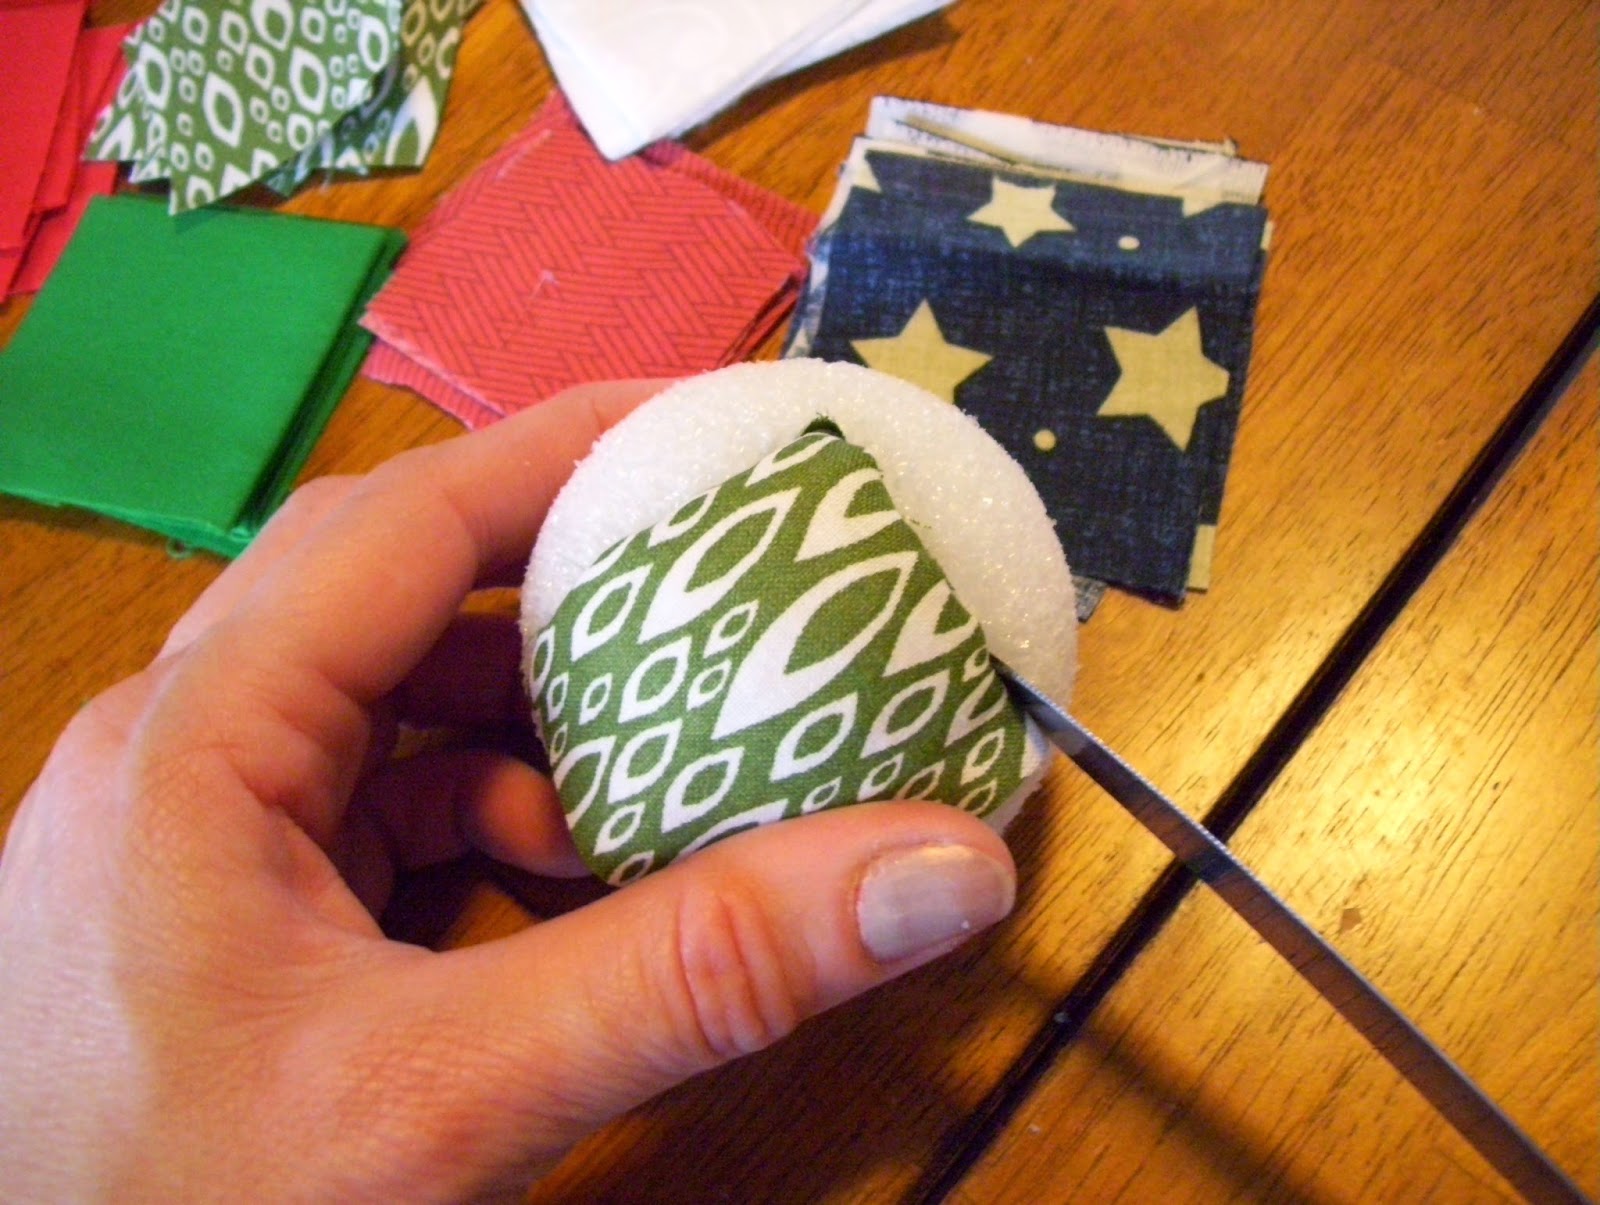 |
| 3) Continue pushing the fabric in as neatly as possible. |
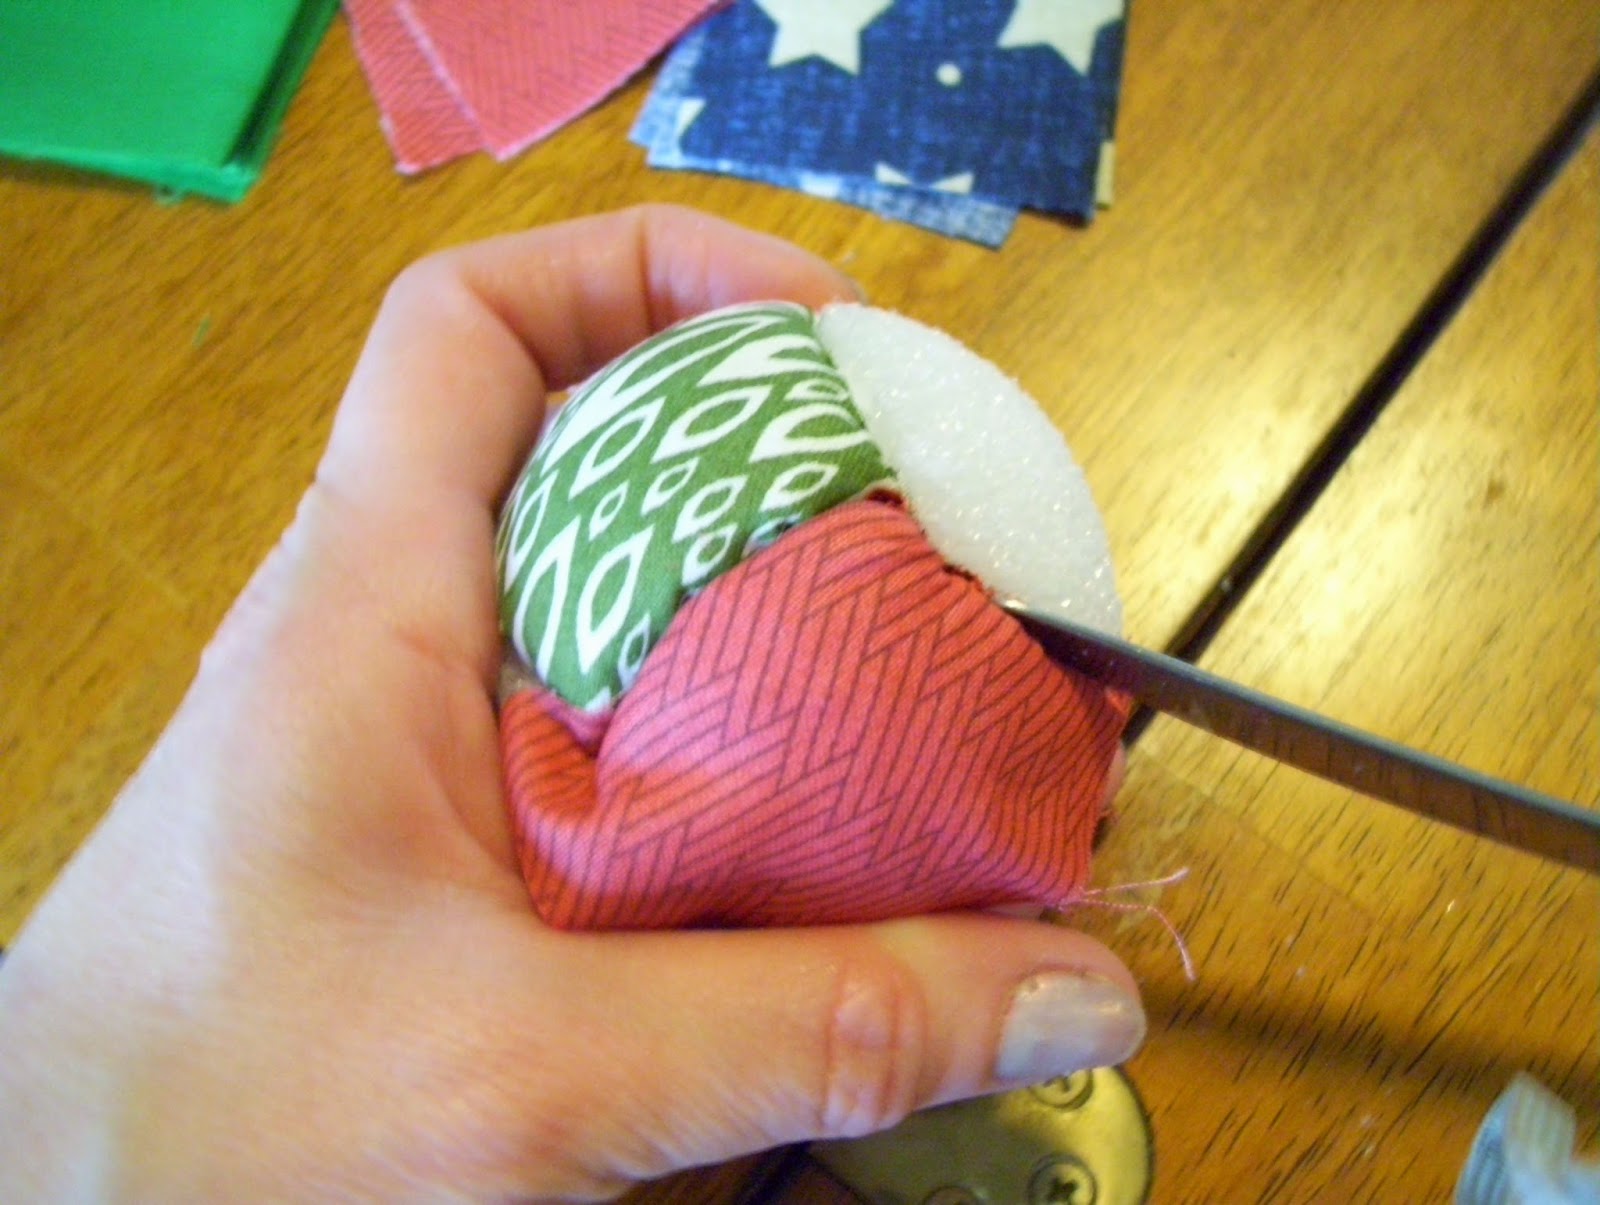 |
| 4) Add a contrasting color of fabric. Start on the side that meets up with the already applied fabric. |
 |
| 5) Don't worry if your pieces don't match perfectly. Just trim the fabric as needed to fit the spaces. |
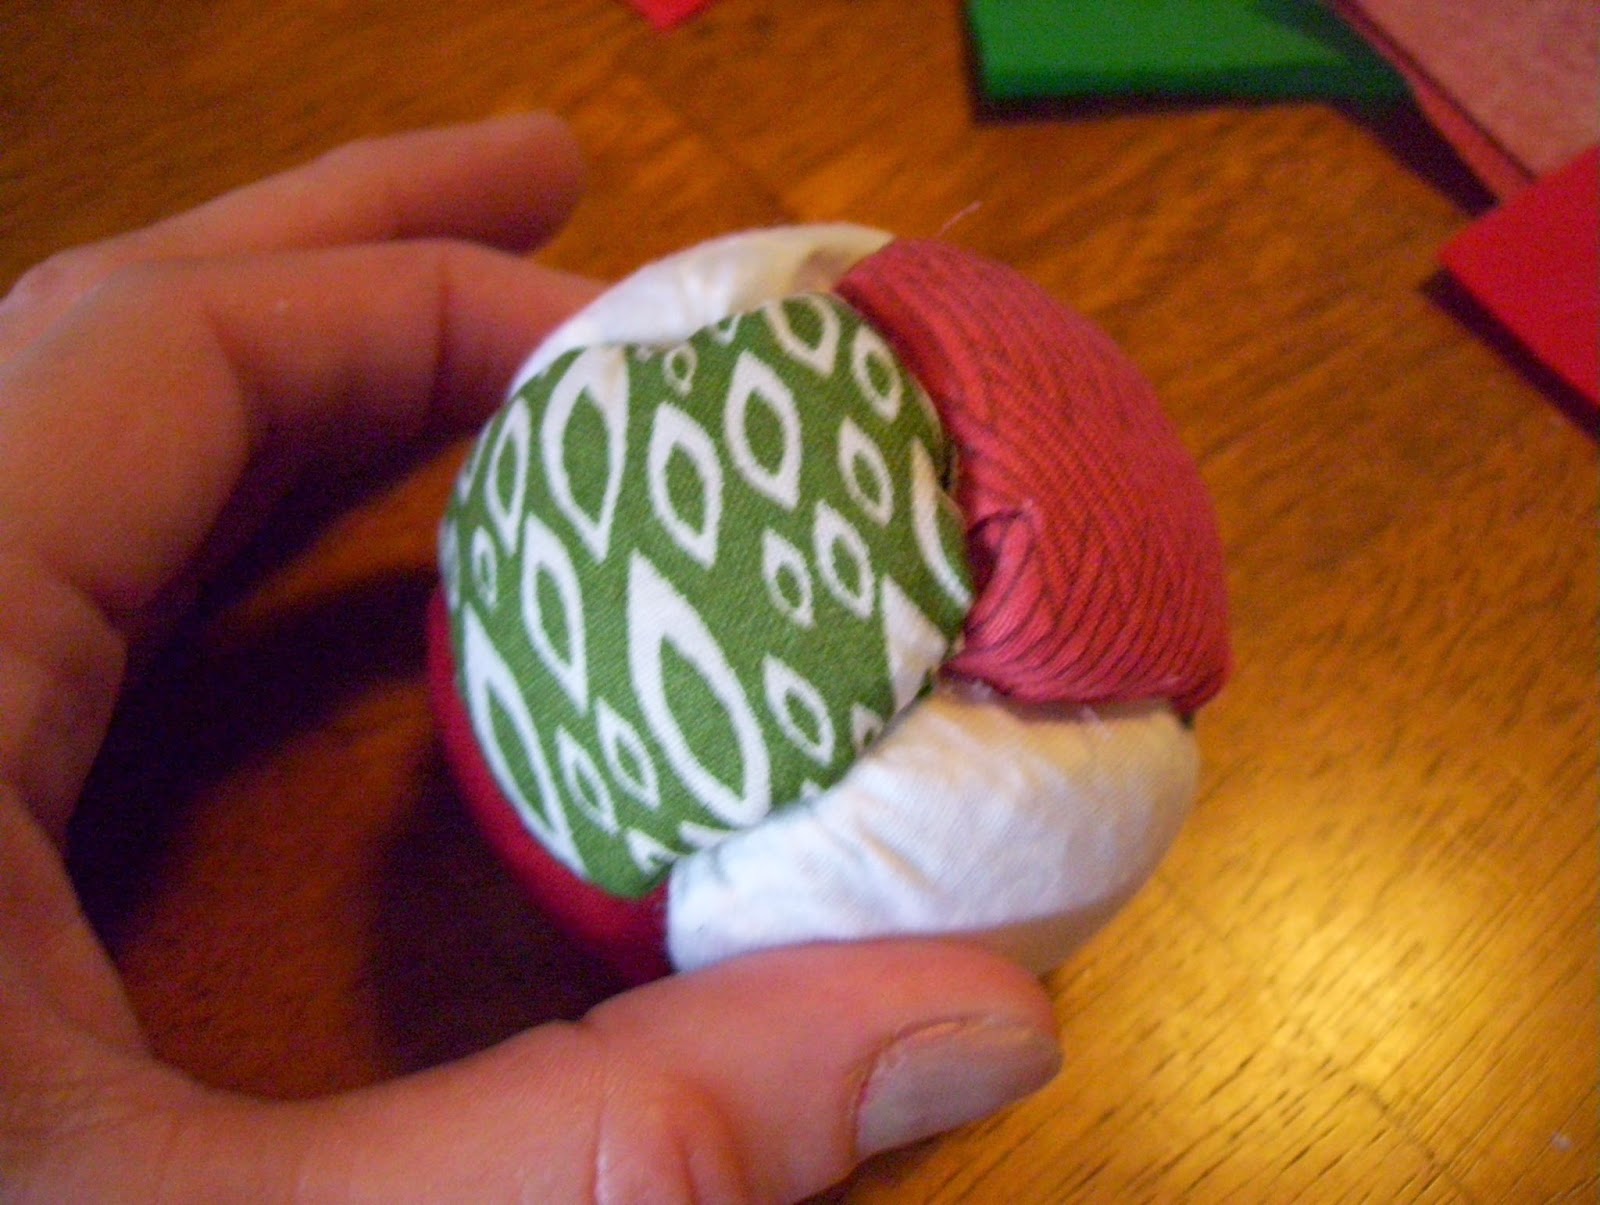 |
| 6) Continue adding fabric until your ornament is completely covered. |
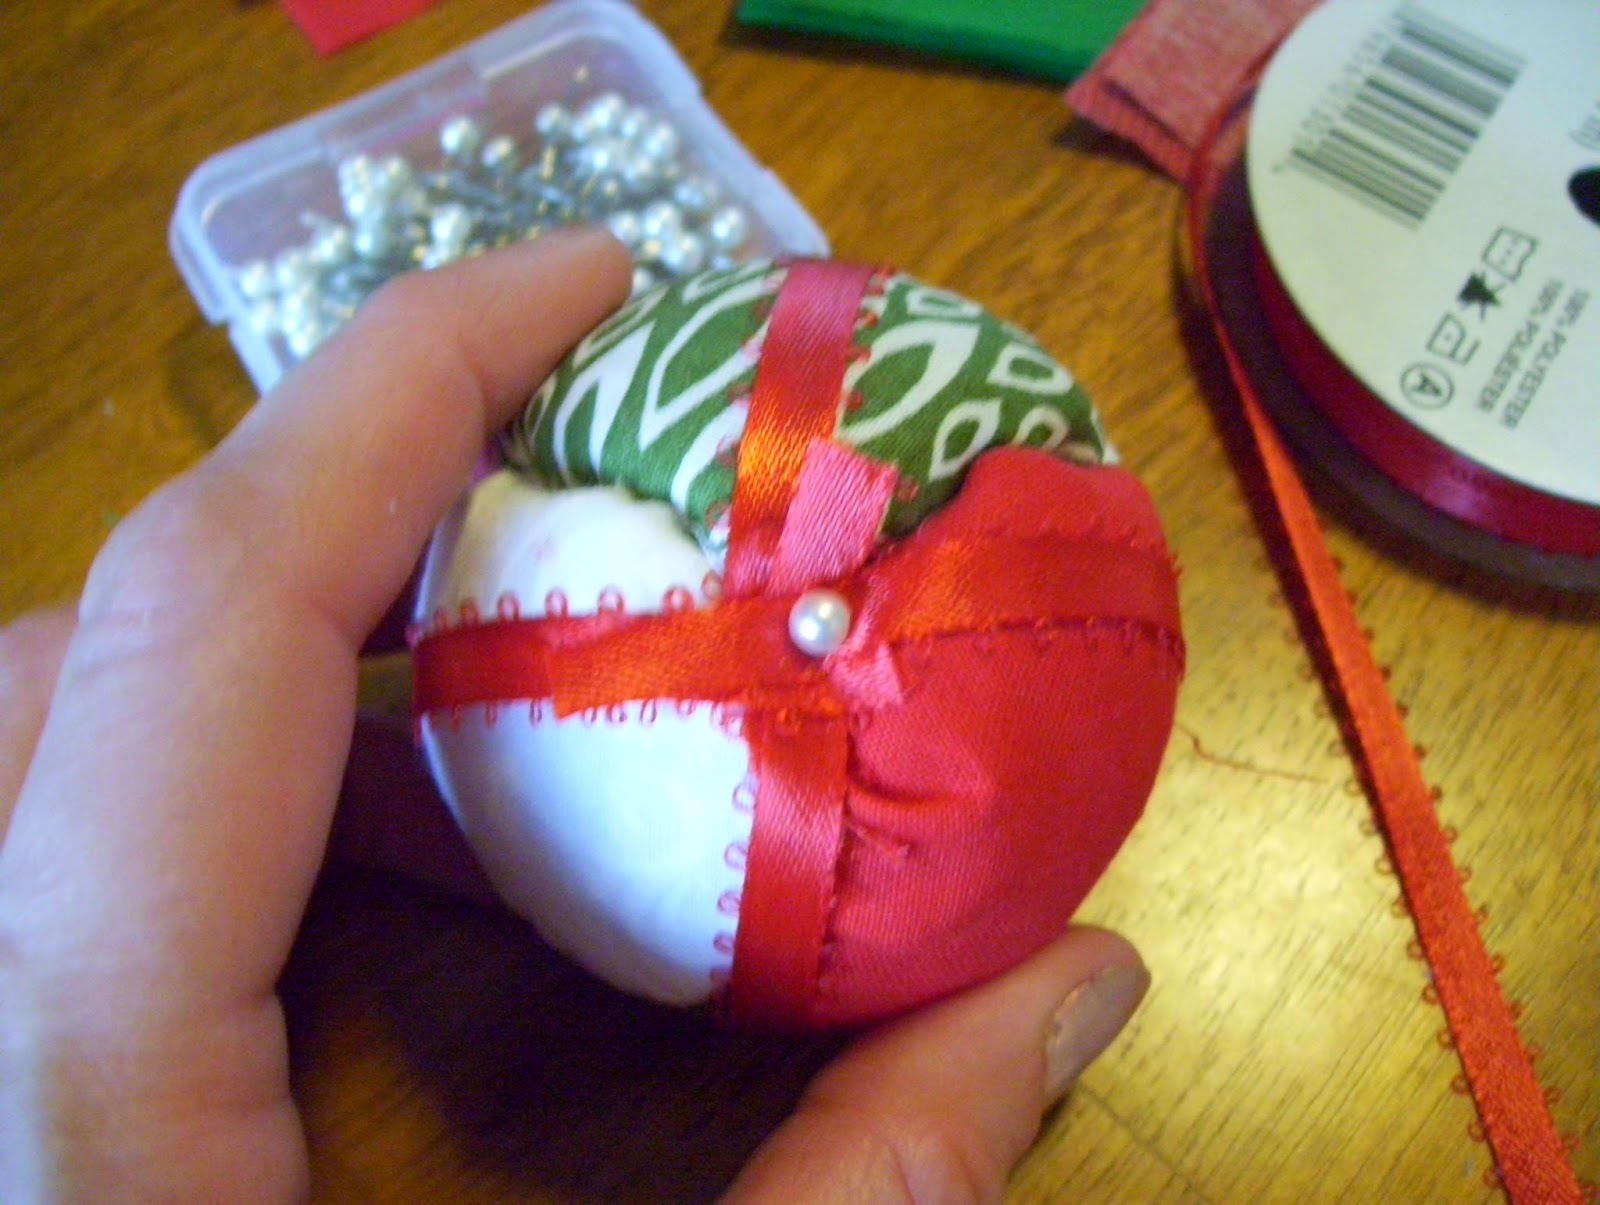 |
| 7) Wrap two strands of ribbon around the ball and secure with a pin. |
 |
| 8) Cut a strip of ribbon approximately 9 inches long. |
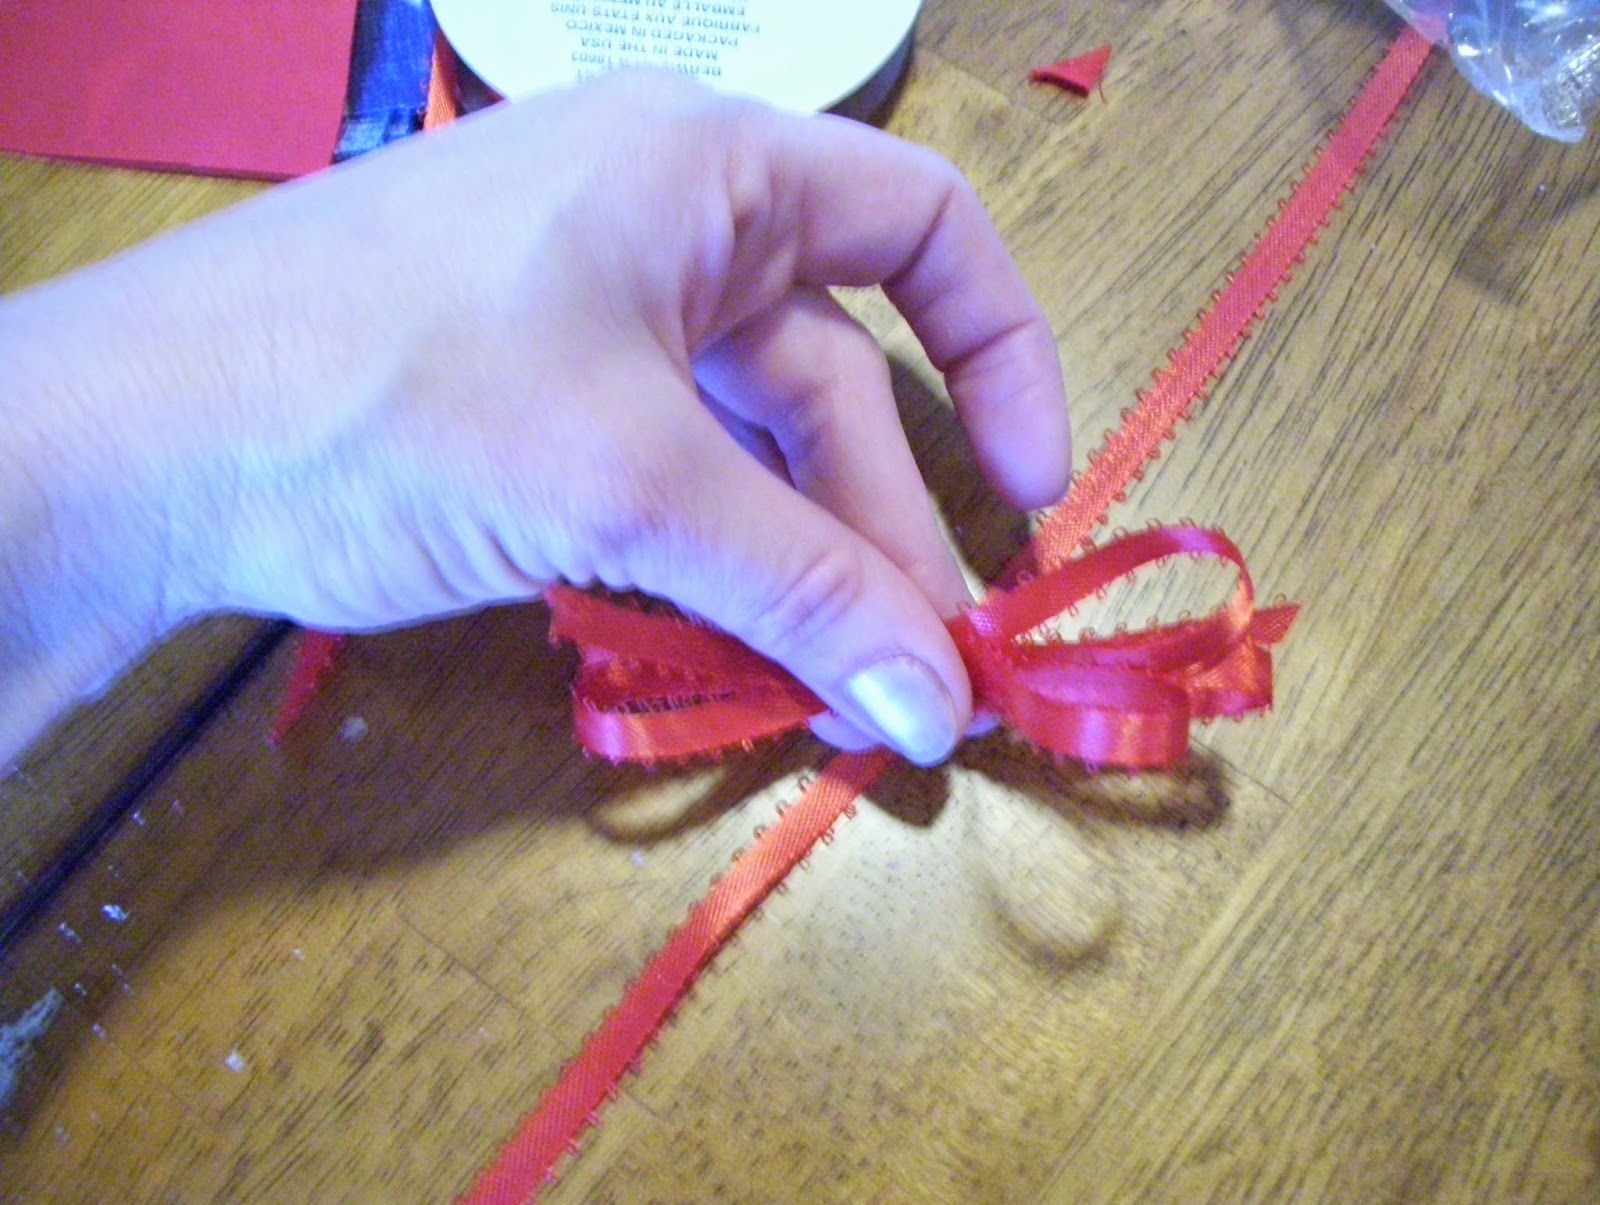 |
| 9) Fold another piece of ribbon into a bow. |
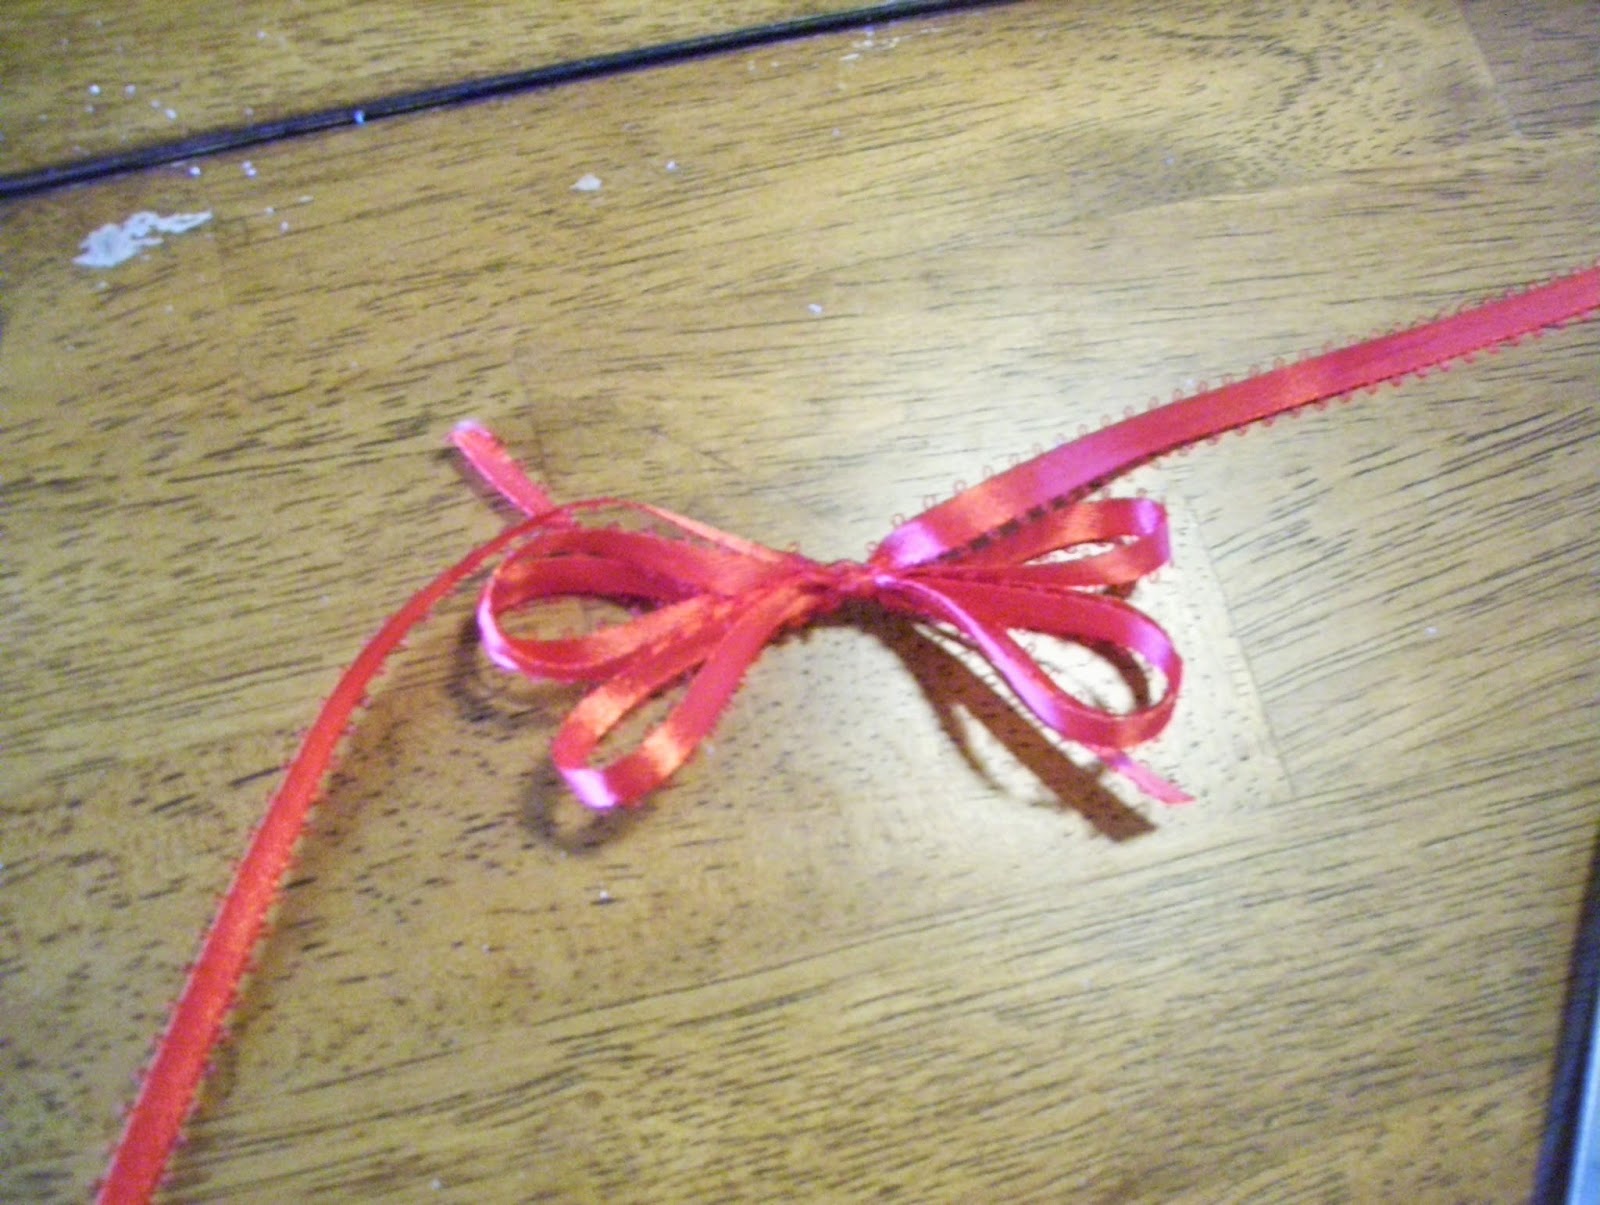 |
| 10) Secure bow with a knot to the 9 inch piece of ribbon. |
 |
| 11) Push a pin through the center of the bow, securing it to the top of the ornament. |
 |
| 12) Tie a knot into the top of the 9 inch piece to complete the hanging portion. Hang on your tree and enjoy! |
No comments:
Post a Comment
Thank you for taking the time to share your thoughts with us! Please remember to keep your comments clean and kind. Have a great day!